Monday, August 26, 2019

Even More Mini Quilts!

Recently, our Mini Quilt Group met again after taking a break over the summer.  Two members actually completed their "homework" -- 100 half-square triangles that finish at 1" square.  One of them even quilted and bound their quilt.  WOW!  You go, Mary Lee!


The gold and blue below one belongs to Gaynel.
 

  Mine is the red and blue one below with the folded up corner.
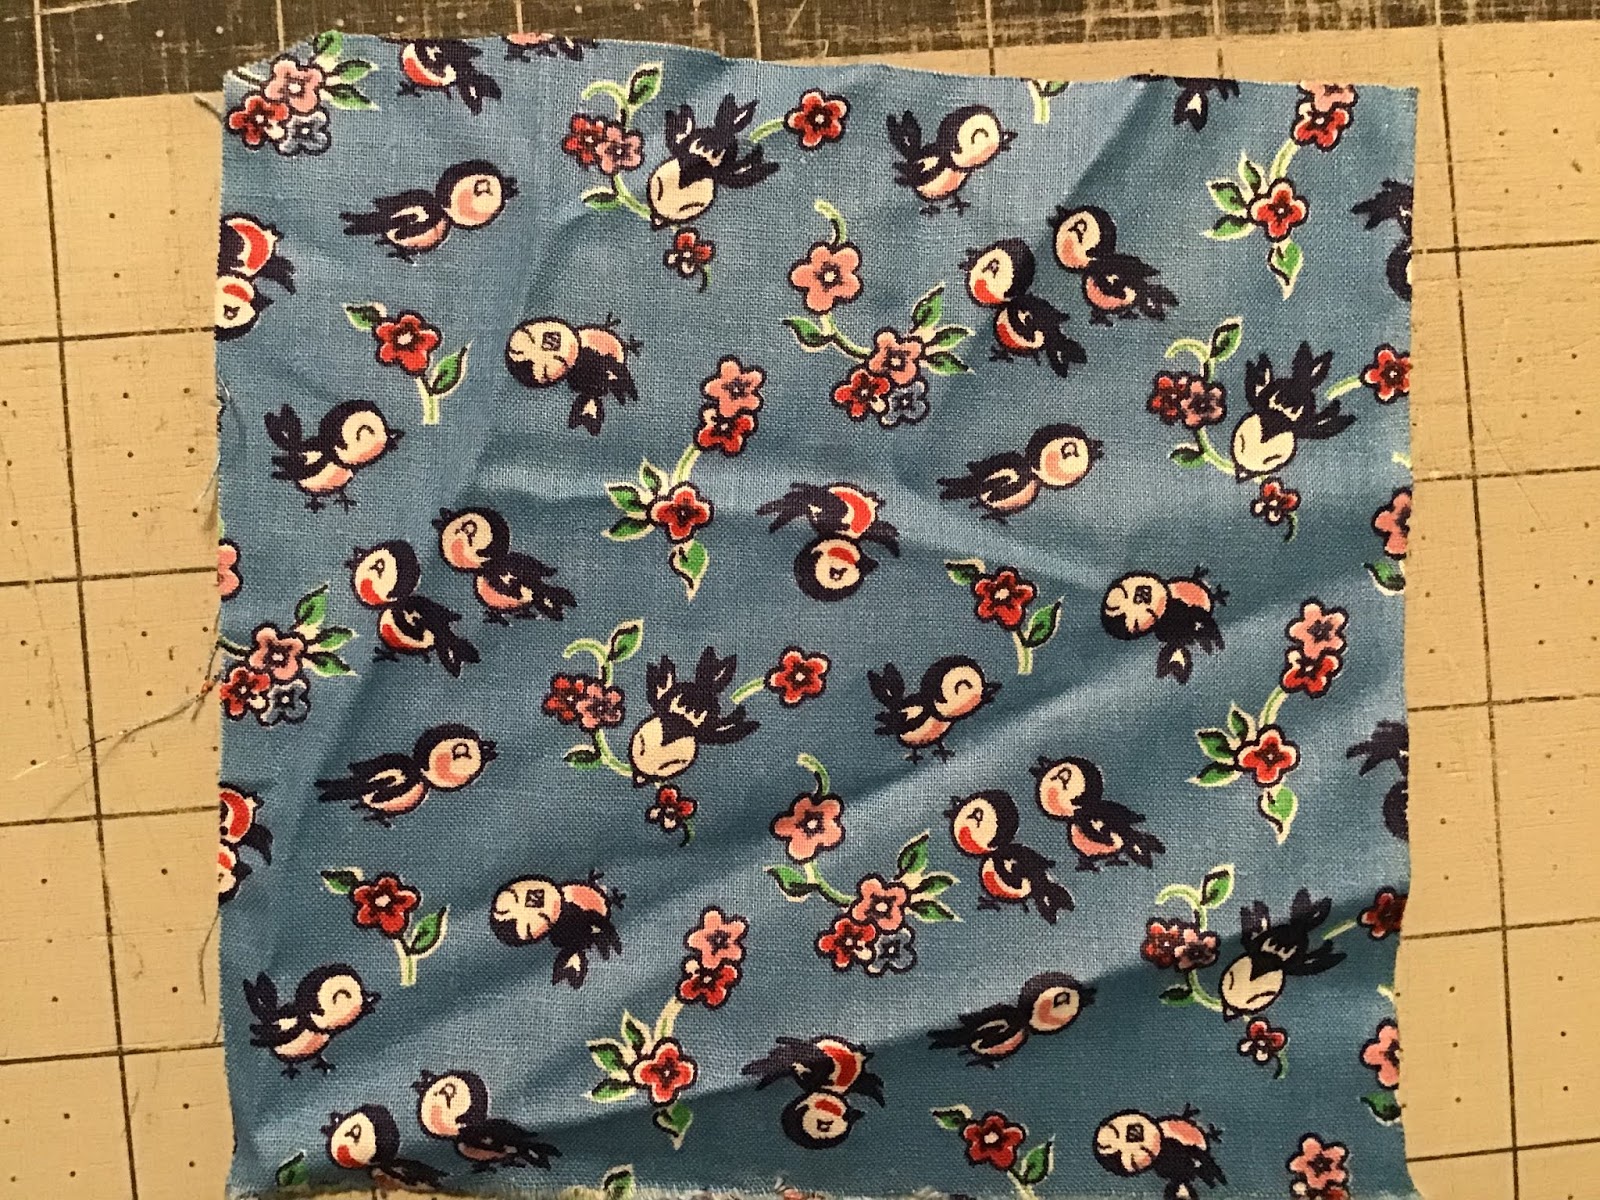

August's Project 

Our project for this month was a pair of pin cushions from our book, Vintage Patchwork by Pam Buda. I didn't want to overwhelm everyone after a month off and following our HUGE 12" HST mini.


I was kind of surprised that some of the group memebers had never made a pin cushion so we took a little time to talk about what to do after you made your little pieced pin cushion top.

HOW TO FINISH A PIN CUSHION


  • If you are planning to quilt your pin cushion top, then layer the top with a light batting (I don't usually use a piece of backing fabric when I quilt a pin cushion because it will have a bottom piece later).  Pin or press the layers together.

  • Machine or hand quilt as desired.   As we are talking about a 5" square, you'll want to choose a simple quilting pattern like stippling or wavy lines.  Straight line or quilting in the ditch work too.  You could also explore some of your special stitches on your sewing machine.

  • After quilting, square up your pin cushion top/batting.

  • Place a piece of backing fabric right sides together with the pin cushion top.  Pin the edges if you need to.

  • Leaving an opening that is at least a few inches in length, stitch all the way around the outside.

  • Clip the corners and turn right side out through the opening.

  • STUFF your pin cushion.  There are lots of different materials that you can stuff your pin cushion with, I do not suggest you stuff it with rice or beans or another food item as it might drawn insects.  STUFF your pin cushion until you can't stuff it any more then stuff it a little bit more.  My favorite stuffing tool is a chopstick.

  • Whip-stitch the opening closed.

  • Voila!  A pin cushion.

Monday, August 19, 2019

Tricia's Favorite Block Tutorials -- Block 8 CHURN DASH

It's time for Block Number 8 in my Favorite Block Tutorials.  I hope that you've been following along and maybe even trying out some of these fun blocks.

Here are the links for the previous 7 blocks if you have missed one:

Block 1

Block 2

Block 3

Block 4

Block 5

Block 6

Block 7

Now that you're all caught up, let's make Block 8 --

Churn Dash


The Churn Dash Block is an old favorite of mine.  I have made many quilts using this block.  One of my most interesting ones was called Halloween Dash and was published in Quilter's World Magazine some years ago.

 
Can you see the spiderweb machine quilting motifs in the middle of the big Church Dash blocks?  Aren't they sew cute?

What you need:

Light:  2 squares 4 7/8" x 4 7/8", 1 square 4 1/2" x 4 1/2", and 4 rectangles 2 1/2" x 4 1/2"

Medium/Dark:  2 squares 4 7/8" x 4 7/8" and 4 rectangles 2 1/2" x 4 1/2"

Here's what you do:

1.   Layer a light 4 7/8" square right sides together with a medium/dark 4 7/8" square.  Drawn a diagonal line from one corner to the opposite corner.  Sew 1/4" away from both sides of the drawn line.  Cut apart on the drawn line.  Open triangle squares and press.  Make 4 triangle squares.


2.  Sew a light 2 1/2" x 4 1/2" rectangle long sides together with a medium/dark 2 1/2" x 4 1/2" rectangle.  Make 4.


3.  Sew the block together like a Nine Patch.


4.  And you're done!


Monday, August 5, 2019

Finding Treasures in My Quilt Studio

This summer I have taken a little break from actually sewing and making quilts.  Not because it’s hot or because I’m too busy, but because I am playing with my giant collection of antique and vintage quilt stuff.  I say quilt stuff because my collection has quilts, tops, partial tops, blocks, partial blocks, unfinished projects and blocks, as well as piles and piles of FABRIC!  I am having the most wonderful time and I don’t even have to go anywhere.  Summer Vacation at home!

I started this project in June when my quilt guild president, Kim, mentioned at our meeting that she wished someone would do a program about feedsacks because she just loves them.  That got me  thinking because I knew that I had some feedsack-type stuff hidden in my vintage stash.  So I volunteered to do a presentation on feedsacks for our guild.  Kim was thrilled.  We haven’t discussed a date yet, which is good, because I am still sorting through my stash.  Once I get through my stash of feedsack stuff, I’ll devote a blog post to showing you my goodies.  I had no idea when I volunteered that it was going to be so intensive or as fun.

I think I have delved into 7 or 8 of my crates already and I know I have more to go, including several crates of quilts yet.  It’s funny — I had no idea how much stuff I’ve accumulated over the years.  As I got it, I admired it, washed it (sometimes) and tucked it away lovingly into a plastic storage crate.   Then when the current crate was filled, I bought another crate and the whole process was repeated.  It is so exciting to open up a crate and discover such awesome treasures!

Here are the contents of the most recent crate I opened.  Seriously, ALL this stuff came out of 1 Rubbermaid 18 gallon crate.  It was all so smushed in there — I have no idea how I got it all in there. I found fabric galore, a few quilt top fragments, and even some feedsacks.  Most of it all dated from 1930s-1960s, which just so happens to be one of my very quilting eras!


Below are 2 of my favorite fabrics that I discovered in the crate.  Aren't they the cutest?????  I just love little conversational prints.

Isn't the penguin great?  How about a squirrel in pants, the deer in the scarf, or the bunny in a jacket?  Any idea why the puppy is included on this fabric????  Anyone?

Check out these happy little birdies.  Don't you just love them?  They have adorable facial expressions. 

Well, I'd better get back to work because right now I'm up to my waist in fabric!

Monday, July 22, 2019

Tricia's Favorite Block Tutorials -- Block 7 OHIO STAR

Hello Again, Dear Friends!


I hope everyone is having fun with these quilt block tutorials.  In case I didn't mention it before, I plan to do 12 block tutorials and then I will do a tutorial on putting the 12 blocks together into a throw-sized Sampler Quilt!  So stick with me and you'll have a pretty nifty quilt when we're all done.

Here are the links for the first 6 blocks if you're just joining us:

1.  Shoofly

2.  Courthouse Steps

3.  Flying Geese

4.  Rail Fence

5.  Electric Fan

6.  Eccentric Star


Okay, now that that's out of the way, let's jump right into our next block: 

OHIO STAR


  Did you know the Ohio Star Quilt Block is connected to John Brown, the abolitionist??????  

Hop over to Suzy Quilts to read more.


Here's what you need for one 12" (finished) block.


Dark Fabric:  1 square 5 1/4" x 5 1/4", cut on both diagonals to yield 4 triangles

Medium Fabric:  2 squares 5 1/5" x 5 1/4", cut on both diagonals to yield 8 triangles

Light Fabric:  1 square 4 1/2" x 4 1/2"

Background Fabric (white):  4 squares 4 1/2" x 4 1/2" and 1 square 5 1/4" x 5 1/4", cut on both diagonals to yield 4 triangles

Let's Sew it Together! 

1.  Sew a light triangle to a dark triangle.  Make 4.


2.  Sew a background triangle to a medium triangle.  Make 4.


3.  Sew the units from steps 1 and 2 together to make an Hourglass unit.  Make 4.


4.  Sew a unit from step 3 together between 2 white squares.  Make 2. 

5.  Sew a light square between 2 units from step 3.  Make 1. 

6.  Sew the rows together into an Ohio Star block.  SEW SIMPLE!


That wasn't too hard, was it????

Stay tuned for our next Block Tutorial in a couple weeks.

Know a friend who might enjoy this tutorial?  Please share.


Saturday, July 20, 2019

Playing Hooky -- Going Antiquing!

Yesterday, my family and I played hooky on a Friday and went antiquing.  We didn't go too far -- about an hour's drive -- but it was enough to be considered "away."

We headed to an antique mall called Whistle Stop in Corry, PA.  We had seen the commercial on television and our interest was piqued.  So yesterday was our day to check it out.

Honestly, I haven't been to an antique mall for several years so I was excited to see what treasures the mall contained.

At first, all I saw was glassware.  Miles and miles of sparkling shiny pretty glassware.  Nice, but not really my thing.  I wove through booths and up and down aisles until I finally came across a booth with lots of textiles.


There were aprons, tablecloths, handkerchiefs, and other textiles.  There were a couple quilts and I was tempted by the unique Dresden Plate summer quilt (no batting), but I passed.


Then I spied a booth across the aisle with some stacks of haphazardly folded textiles.  Hmmm.  I just love poking around in piles of old textiles -- you never know what you'll find.

The first thing I pulled out of the stack was an adorable 1930's/40's doll quilt.  It was machine-quilted, but it spoke to me and of course it went home with me.


There were some other vintage pieces and although I was tempted by the vibrant yellow 30's top, it had enough damage that I wasn't sure it was worth the price.


I continued looking and found some other quilty items.  BUTTONS!  A cute sewing box (I actually saw several sewing boxes and baskets).  Doll pin cushions.  A pair of adorable Sunbonnet Sues in frames.


 A few booths later I scored a set of 8 signature blocks -- SUNBONNET BABY blocks.  Of course, I had to have them.  I have several different sets of Sunbonnet Sue blocks (even Colonial ladies and Sunbonnet Sam) but I've never had the Sunbonnet Babies before.

Aren't they just the cutest?????????


I added a Blue Willow platter at an unbelievable price.  I paid for my treasures and I headed across the street to another antique shop.

I didn't see any quilty stuff until I was about ready to leave and I spied some quilts hiding at the back of a booth.

I was really drawn to the indigo and blue Sawtooth quilt because I have never seen this design before, but it was in such poor condition.  What a shame.


There were a few other quilts, too.  I bought a Nine Patch quilt (on the higher shelf in the photo above) from the 1930's/40's teeming with tons of feed sack fabrics.  I thought that I could use this one in the presentation I'm putting together on feed sack fabric for my quilt guild.  (Yeah, yeah, I know ......that was just an excuse to buy another quilt.  LOL!)  The quilt is a bit worn and ragged with some pretty bad  repairs with sparkly butterfly fabric, but the feed sack fabrics are really wonderful.


Sigh.....Yes, I know I'm supposed to be trying to downsize my studio, but there's always room for something special or interesting.

Until my next antiquing adventure.........


Monday, July 15, 2019

More Fun Quilt Block Finds in My Stash

Wait to you see the blocks I unearthed yesterday!  I finished up the last crate and started another one.  I think I must have a bajillion more to go.  Who collected (hoarded) all of this stuff?????  Oh, yeah ...... me.  LOL.

Anyway, check out these awesome String Star blocks.


At first glance, they look kind of like a hot mess.  Then you start to notice the individual fabrics.  I have found fabrics from before 1900 all the way up to the 1930's in these 9 star blocks.  What a wonderful slice of textile history.

But wait -- it gets even better!  8 of these 9 blocks STILL HAVE THEIR NEWSPAPER FOUNDATIONS ON THE BACK OF THE BLOCKS!  What a fascinating bonus.  Here are the back of 3 of the blocks looks like (seriously, from a distance they all look pretty much the same).


Then I started looking a little closer at the newspaper pieces.  I discovered that the pieces seem to be from The Record Argus, which is the newspaper in the Sharon/Greenville PA area, which really isn't all that far from where I am located.

Next I went looking for dates.  I found months and days, but no years until the last Star block I looked at.  I found the date 1933. 

Most of the articles were local and society news articles, but I did find a few interesting national pieces -- one of them about boxer Jack Dempsey and his fight with Sharkey and another article about an assassination attempt on President Roosevelt!


But my absolute favorite local news piece was about a man who was drunk and had a car accident. I can't believe the color of his skin is noted in the article -- I know, it was the 1930's, but still.....  I do love that the man's pet cat was his passenger, though.


These quilt blocks are an absolute treasure.

Monday, July 8, 2019

Tricia's Favorite Block Tutorials -- Block 6 ECCENTRIC STAR

Here we are on Block 6 already. 

Just so you know, I am planning 12 blocks in my "Tricia's Favorite Block Tutorials" series.  After the 12 tutorials, I will post a fun sampler quilt featuring the 12 blocks along with the instructions.  So let's keep moving!

In case you've missed them, here are the first 5 blocks:


Block 1 -- Shoo Fly

Block 2 -- Courthouse Steps

Block 3 -- Flying Geese

Block 4 -- Rail Fence

Block 5 -- Electric Fan

Block 6 is

 ECCENTRIC STAR


Isn't it a fun block?


The Eccentric Star block is a Nine Patch variation.  I looked around for some historical information about this block but came up empty-handed.  Does anyone know the origin of this block?


Here's what you need:

4 dark squares 4 7/8" x 4 7/8"

1 dark square 4 1/2" x 4 1/2"

4 light squares 4 7/8" x 4 7/8"

Let's get started:

1.  Layer a 4 7/8" dark square right sides together with a light 4 7/8" square.  Draw a line from one corner to the opposite corner diagonally.

2.  Sew 1/4" away from both sides of the drawn line.

3.  Cut apart on the line.   Voila!  You have 2 half square triangle blocks (HSTs).

4.  Repeat steps 1-3 to make a total of 8 HSTs.


5.  Sew 3 HST's together, turning blocks as shown.  Make 2 rows.


6.  Sew a dark 4 1/2" square between 2 HST's.  Make 1 row.


7.  Sew the rows together to make an Eccentric Star block.


And you are done!  Stay tuned for Block #7 coming soon.